--- keywords: ["Unix v6", "Unix", "PDP-11", "SIMH", "1970s", "1975"] image: ./unix-v6-SIMH-PDP-11-23.webp description: 'We can run ! Unix v6 on the SIMH PDP-11 emulator. First, we need to download the ! Unix v6 tape. You can download the tape needed to run it on the SIMH PDP-11 emulator from the squoze.net website.' sidebar_position: 1 sidebar_label: "! Unix v6 on SIMH PDP-11" --- # How to install ! Unix v6 on SIMH PDP-11 emulator? 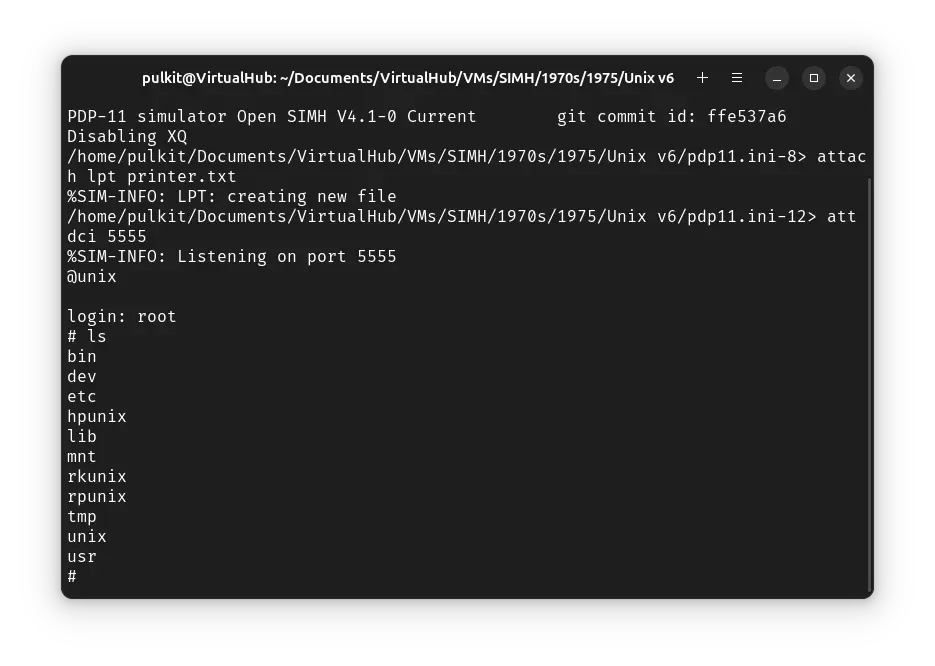 We can run ! Unix v6 on the SIMH PDP-11 emulator. First, we need to download the ! Unix v6 tape. ## Downloads You can download the tape needed to run ! Unix v6 on the SIMH PDP-11 emulator from the [squoze.net](http://squoze.net/) website: - [! Unix v6 tape](http://squoze.net/UNIX/v6/files/dist.tap) ## Installing ! Unix v6 :::tip If you have not already installed SIMH PDP-11 emulator, see [the VirtualHub Setup tutorial on how to do so](https://setup.virtualhub.eu.org/simh-pdp11/) on Linux and Windows. ::: Create a folder somewhere to store the files for this VM and move the `dist.tap` file into it. Now we will create a temporary config file for our VM. Create a text file called `pdp11.ini` with the following content in the VM folder: ```ini set cpu 11/40 set tm0 locked attach tm0 dist.tap attach rk0 rk0 attach rk1 rk1 attach rk2 rk2 d cpu 100000 012700 d cpu 100002 172526 d cpu 100004 010040 d cpu 100006 012740 d cpu 100010 060003 d cpu 100012 000777 g 100000 ``` 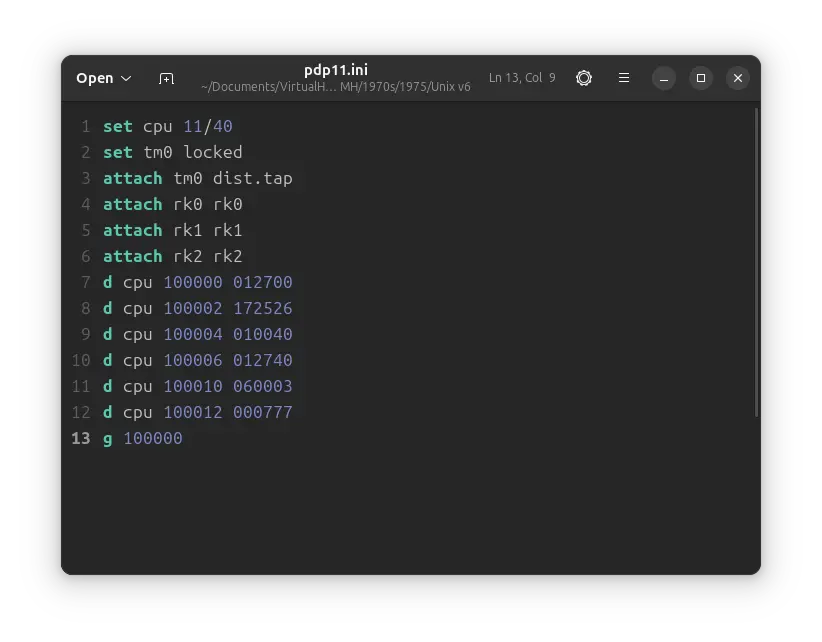 Now open a terminal and move to the VM folder. Run the following command to start the emulator: ```bash pdp11 ``` 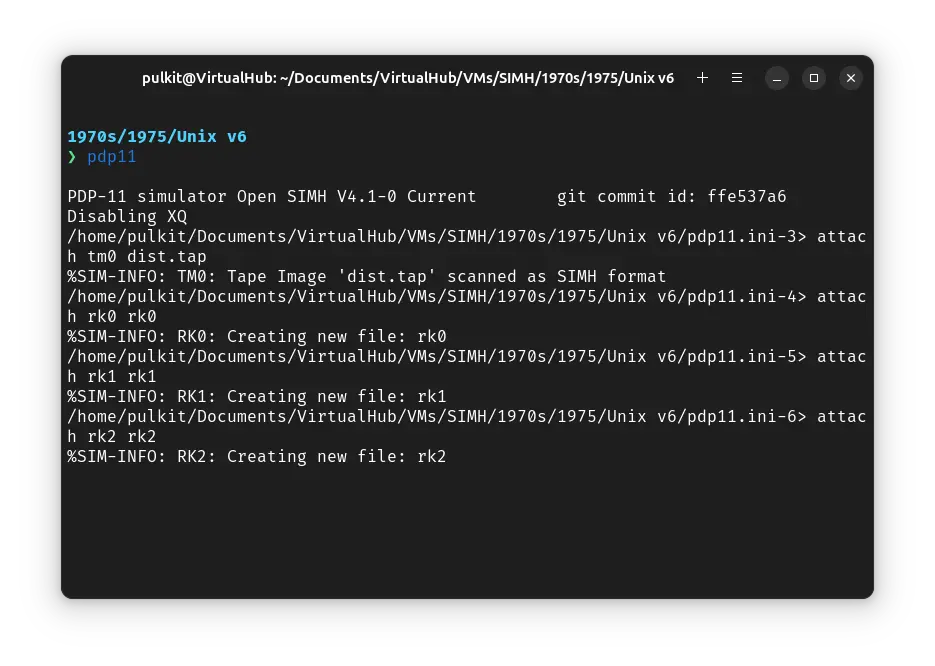 After the emulator starts, press `Ctrl` + `e`. You will get a `sim>` prompt. Type `g 0` to start the emulation. 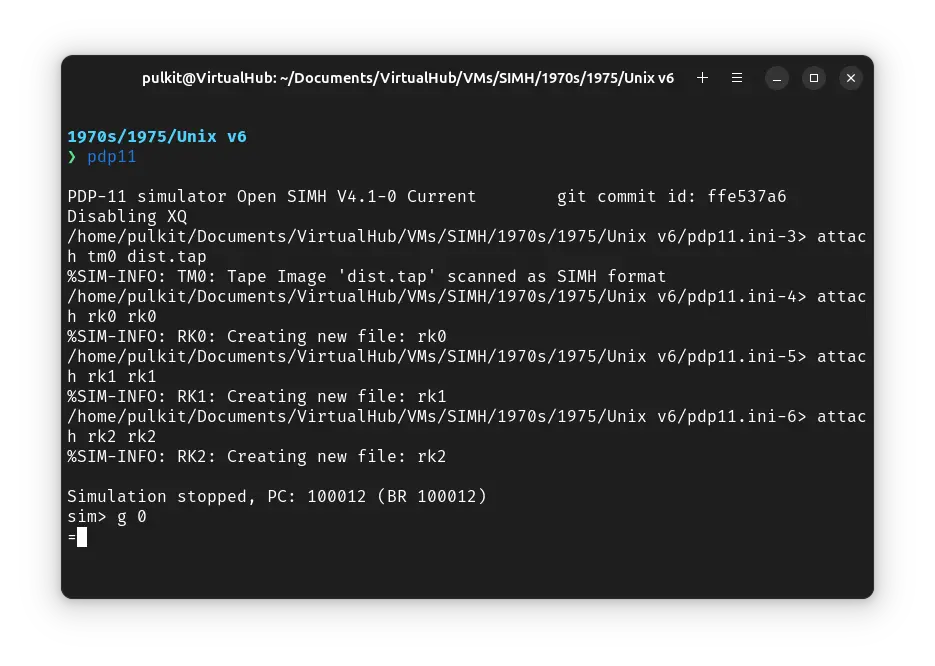 You will get an `=` prompt. Type `tmrk` and press enter. When asked for disk offset, type `0` and press enter. For tape offset, enter `100` and for count `1`. 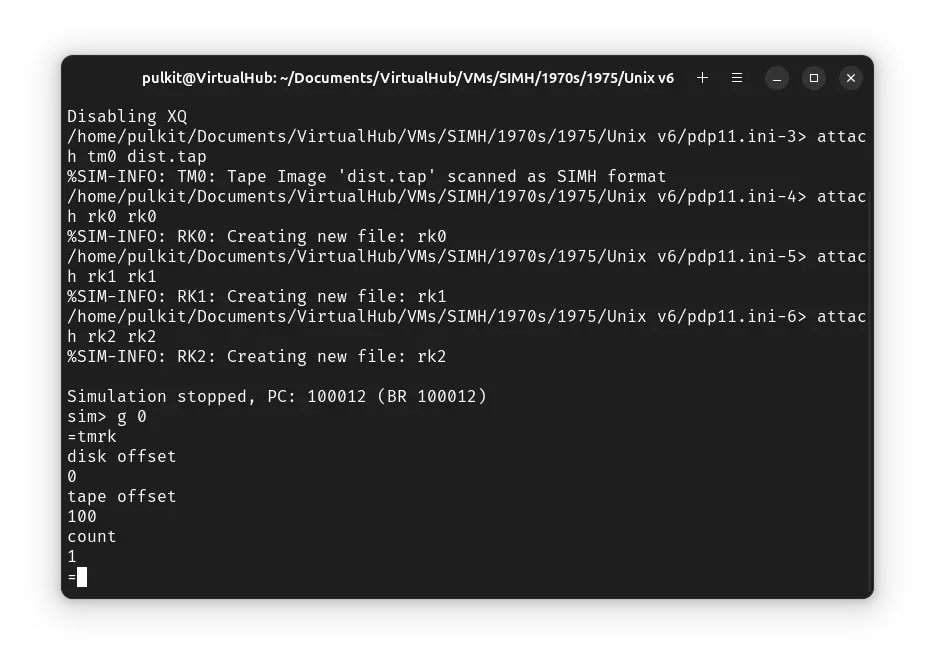 You will get back to an `=` prompt. Run `tmrk` again. This time, for disk offset, enter `1`, for tape offset `101` and for count `3999`. 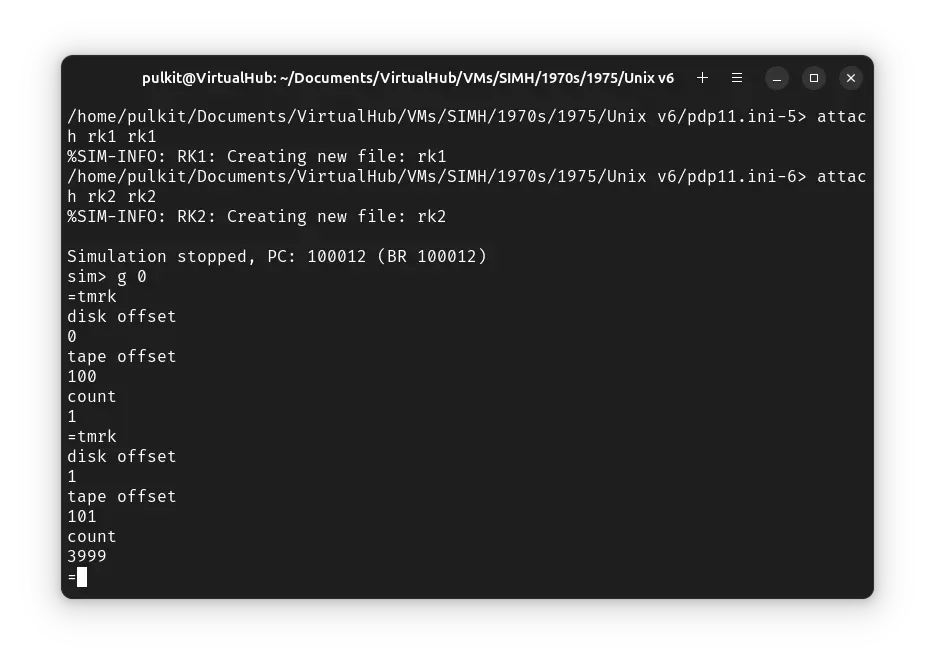 We have successfully copied the base ! Unix files to our disk. Now press `Ctrl` + `e` and enter `exit` to quit the emulator. 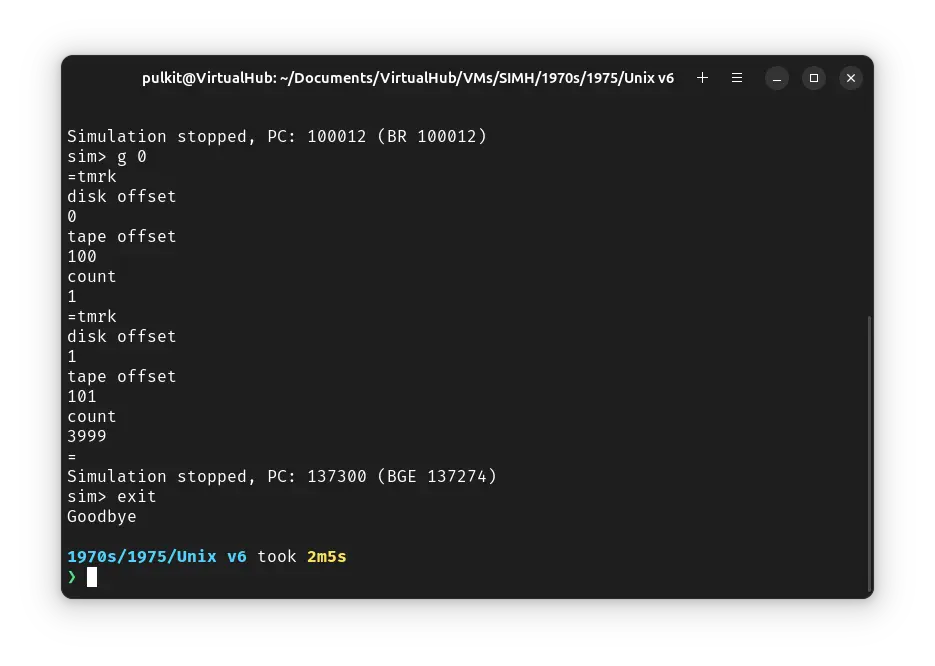 Now we modify the `pdp11.ini` file and make it as follow: ```ini set cpu 11/40 set tto 7b set tm0 locked attach tm0 dist.tap attach rk0 rk0 attach rk1 rk1 attach rk2 rk2 dep system sr 173030 boot rk0 ``` 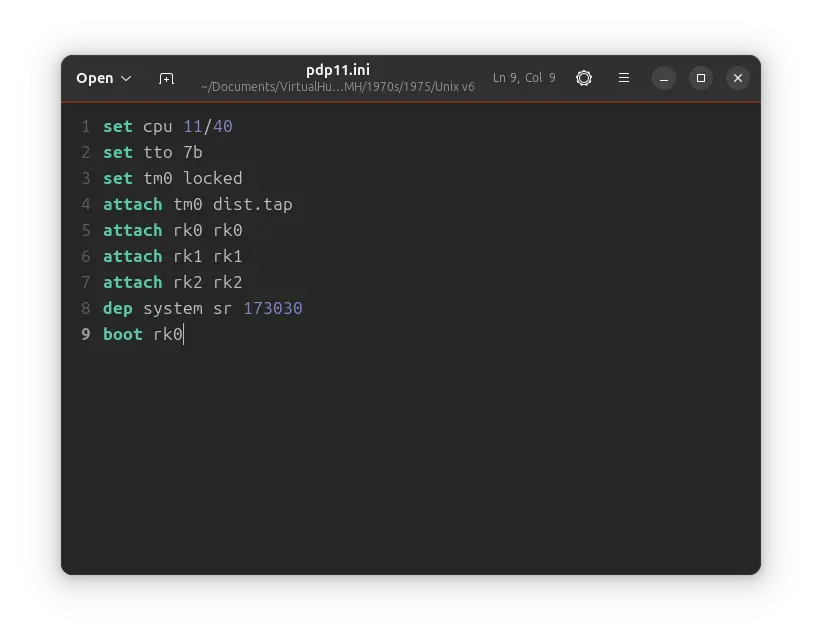 Once again, open a terminal and move to the VM folder. Run the following command to start the emulator: ```bash pdp11 ``` 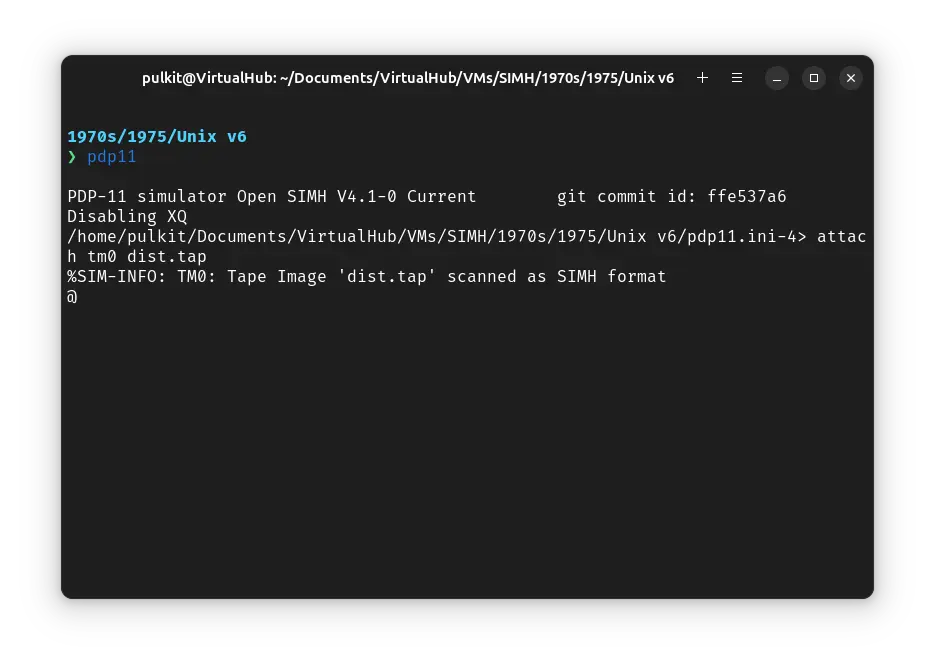 At the `@` prompt, type `rkunix` and press enter. ! Unix will start. 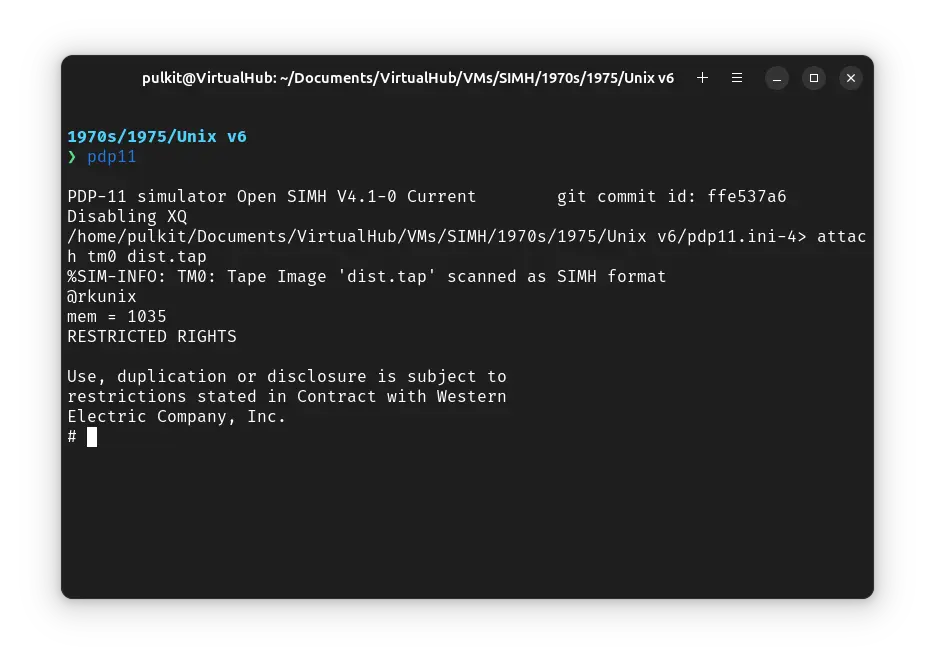 Now we will rebuild the kernel to support the devices supported bu SIMH. First run `STTY -LCASE` to make ! Unix use lowercase. Now run the following commands (pressing enter after each lines) to build the mkconf executable: ```bash chdir /usr/sys/conf cc mkconf.c mv a.out mkconf ``` 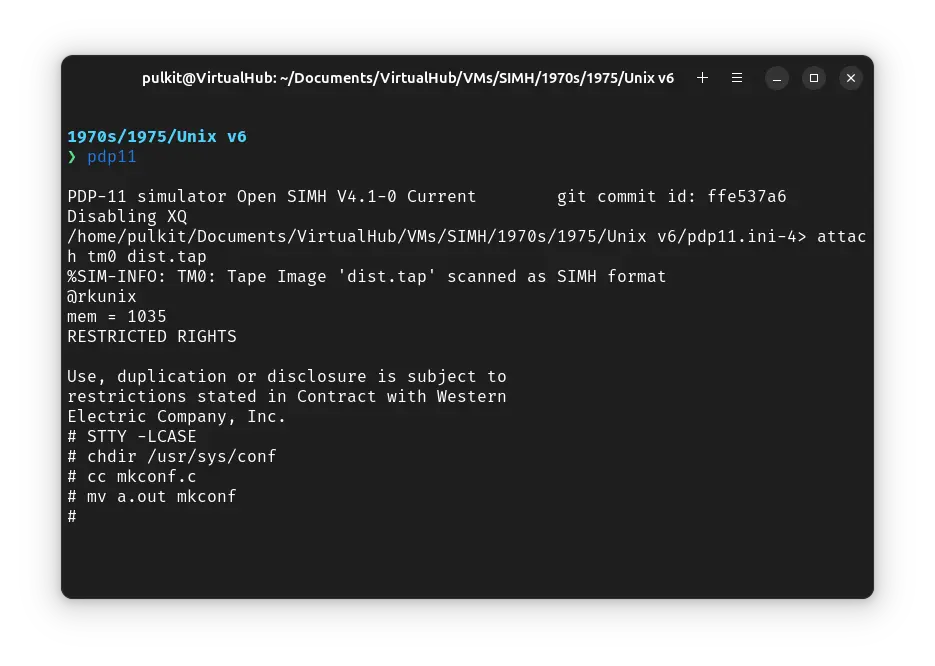 Now we will use mkconf. Run `mkconf` and then type the following, pressing enter after each line: ```bash rk tm tc 8dc lp done ``` 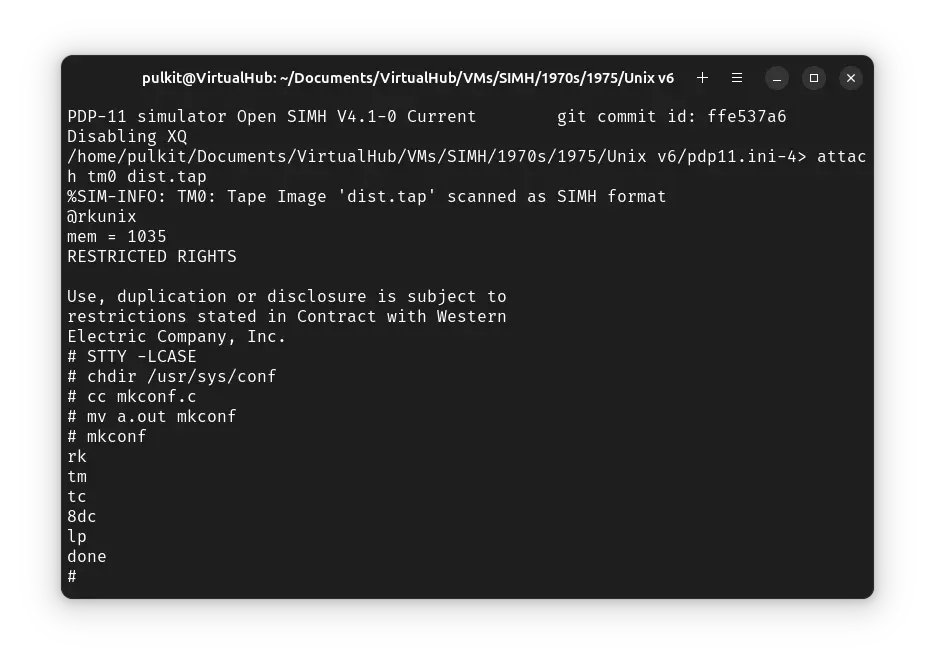 We will now build the kernel and move it to root. Run the following commands: ```bash as m40.s mv a.out m40.o cc -c c.c as l.s ld -x a.out m40.o c.o ../lib1 ../lib2 mv a.out /unix ``` 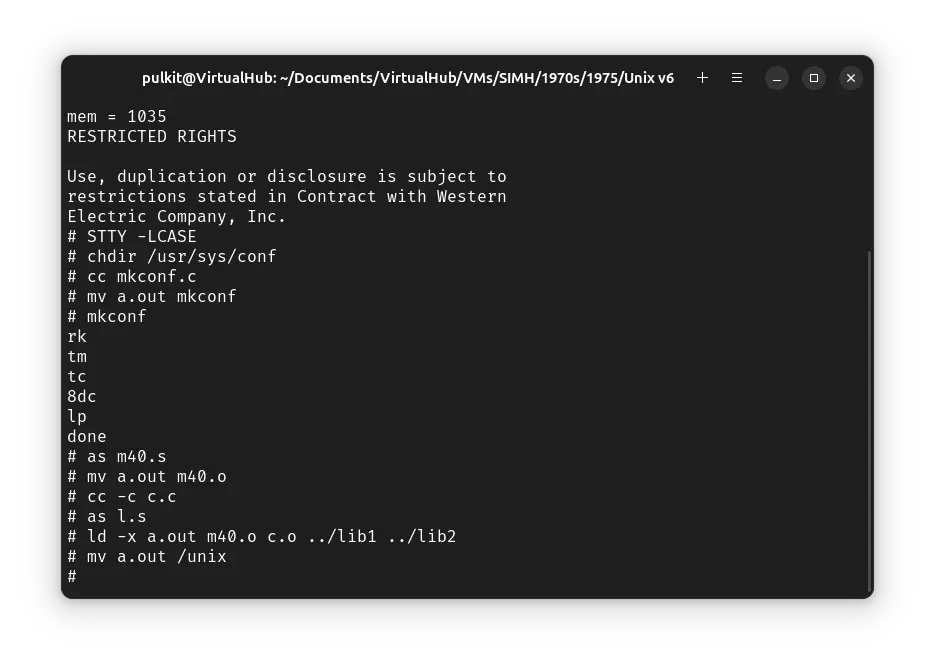 To verify that the kernel is successfully installed in root, run the following command: ```bash ls -l /unix ``` 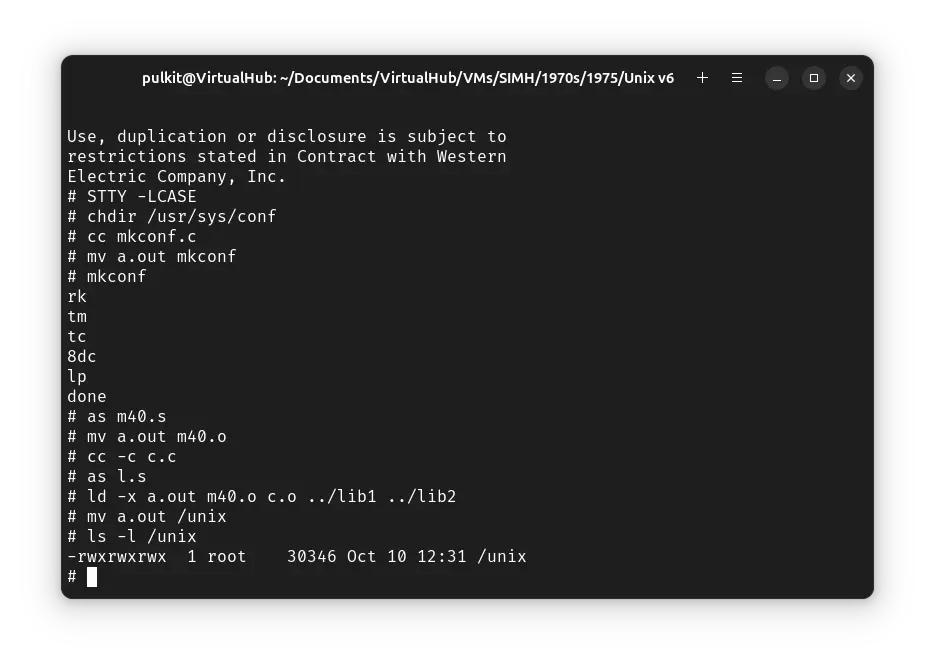 We will configure the device files now. Run the following commands one by one: ```bash /etc/mknod /dev/rk0 b 0 0 /etc/mknod /dev/rk1 b 0 1 /etc/mknod /dev/rk2 b 0 2 /etc/mknod /dev/mt0 b 3 0 /etc/mknod /dev/tap0 b 4 0 /etc/mknod /dev/rrk0 c 9 0 /etc/mknod /dev/rrk1 c 9 1 /etc/mknod /dev/rrk2 c 9 2 /etc/mknod /dev/rmt0 c 12 0 /etc/mknod /dev/lp0 c 2 0 /etc/mknod /dev/tty0 c 3 0 /etc/mknod /dev/tty1 c 3 1 /etc/mknod /dev/tty2 c 3 2 /etc/mknod /dev/tty3 c 3 3 /etc/mknod /dev/tty4 c 3 4 /etc/mknod /dev/tty5 c 3 5 /etc/mknod /dev/tty6 c 3 6 /etc/mknod /dev/tty7 c 3 7 chmod 640 /dev/*rk* chmod 640 /dev/*mt* chmod 640 /dev/*tap* ``` 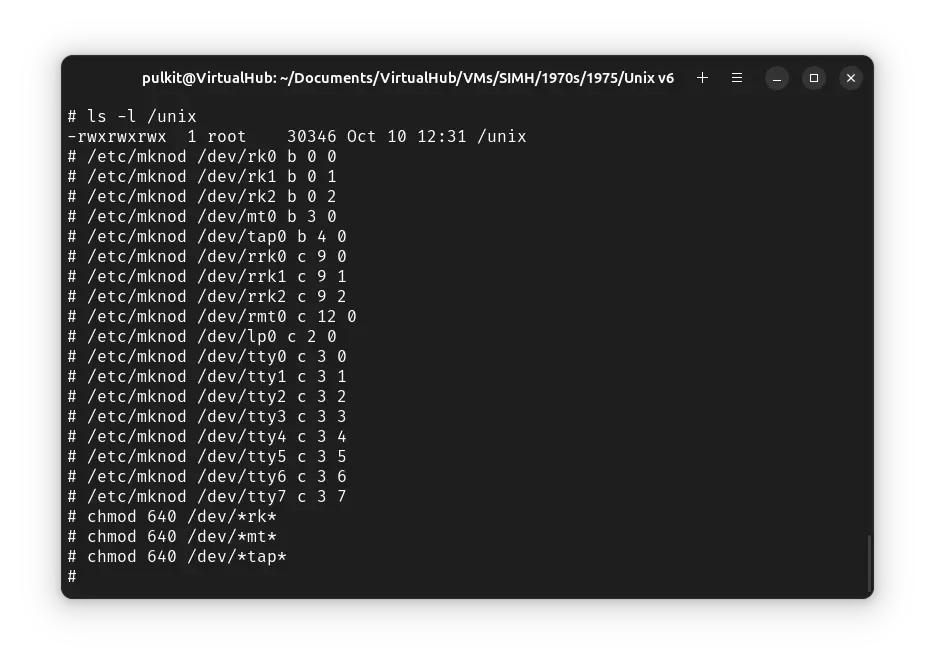 We will copy the source and documentation of ! Unix v6 from the tape to disks now. Run the following commands: ```bash dd if=/dev/mt0 of=/dev/rk1 count=4000 skip=4100 /etc/mount /dev/rk1 /usr/source dd if=/dev/mt0 of=/dev/rk2 count=4000 skip=8100 mkdir /usr/doc ``` 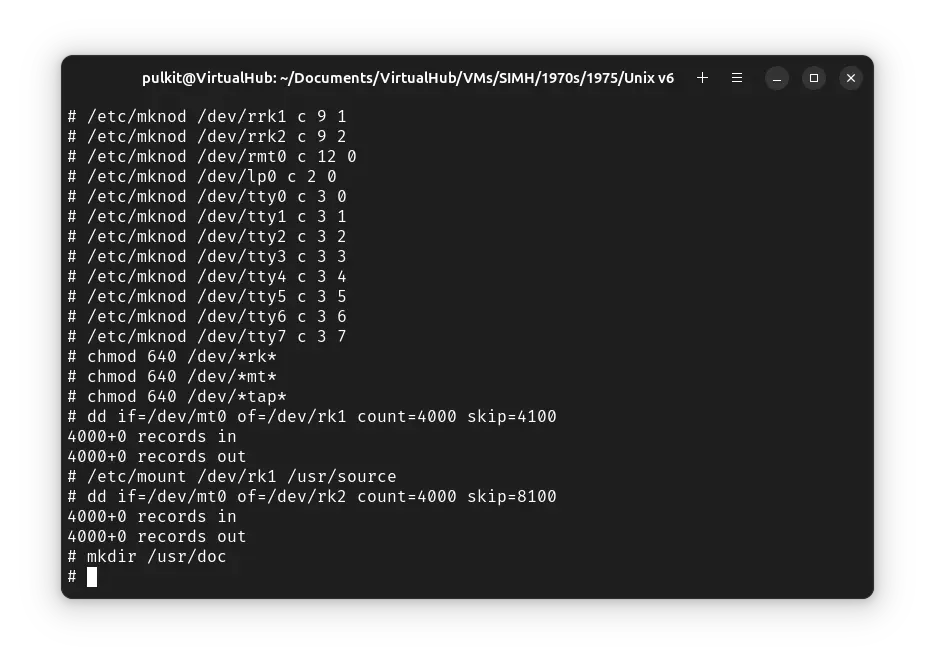 We will add configuration to mount the source and doc disk to correct location on each boot. To do so, run `cat >> /etc/rc` and then type the following two lines (pressing enter after each line): ```bash /etc/mount /dev/rk1 /usr/source /etc/mount /dev/rk2 /usr/doc ``` Then press `Ctrl` + `D`. 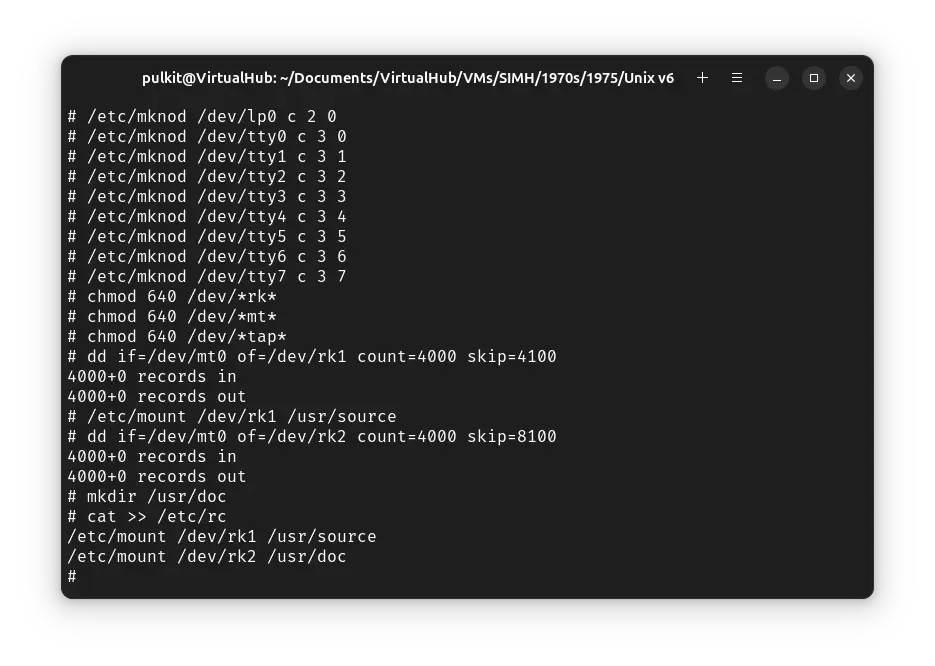 Now we will rebuild the `df` command. To configure `df`, run `chdir /usr/source/s1` to change to appropriate directory, and then run `ed df.c`. Then type the following lines, pressing enter after each line (taking care of the whitespace): ```bash /rp0/d .-2a "/dev/rk0", "/dev/rk1", . w q ``` Then compile `df` by running `cc -s -O df.c`. Then run the following commands to install it in the correct location: ```bash cp a.out /bin/df rm a.out ``` 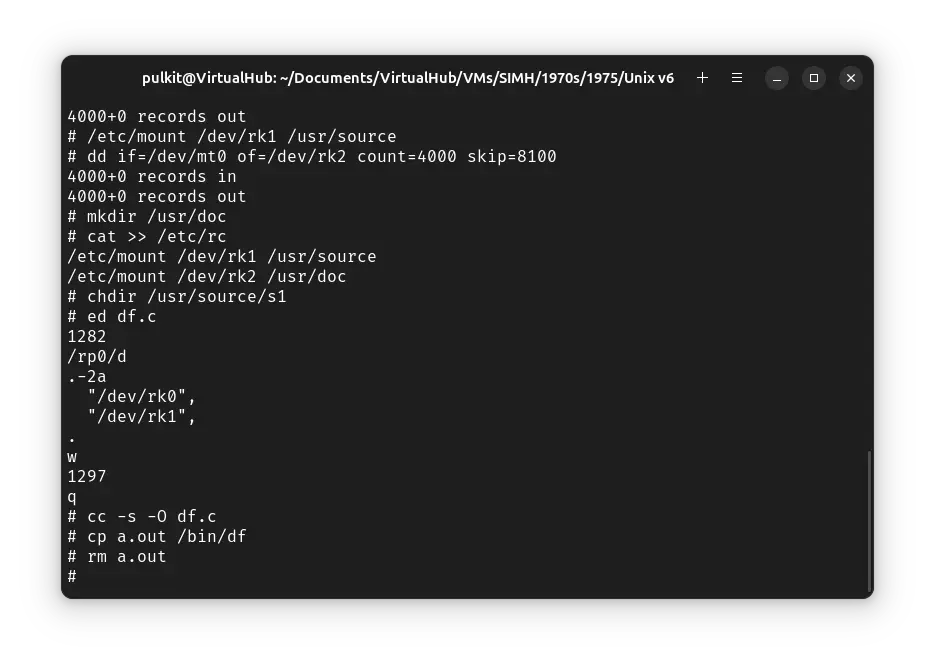 You can check the filesystem by running these commands: ```bash icheck /dev/rrk0 dcheck /dev/rrk0 icheck /dev/rrk1 dcheck /dev/rrk1 icheck /dev/rrk2 dcheck /dev/rrk2 ``` 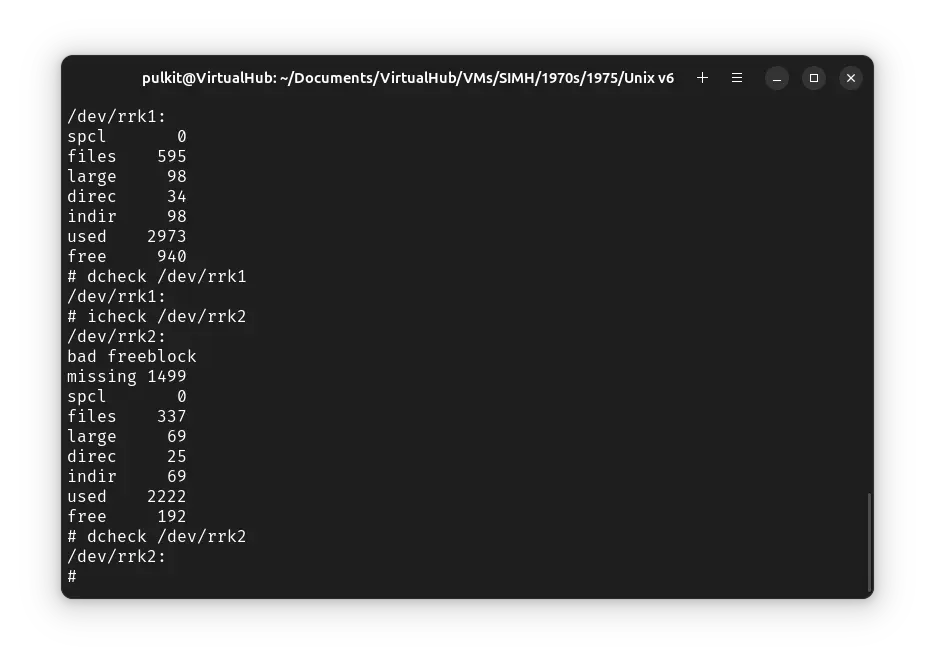 At last we will enable multiuser access for ! Unix. Run `ed /etc/ttys`, and type the following lines, pressing enter after each line: ```bash 1,8s/^0/1/p w q ``` 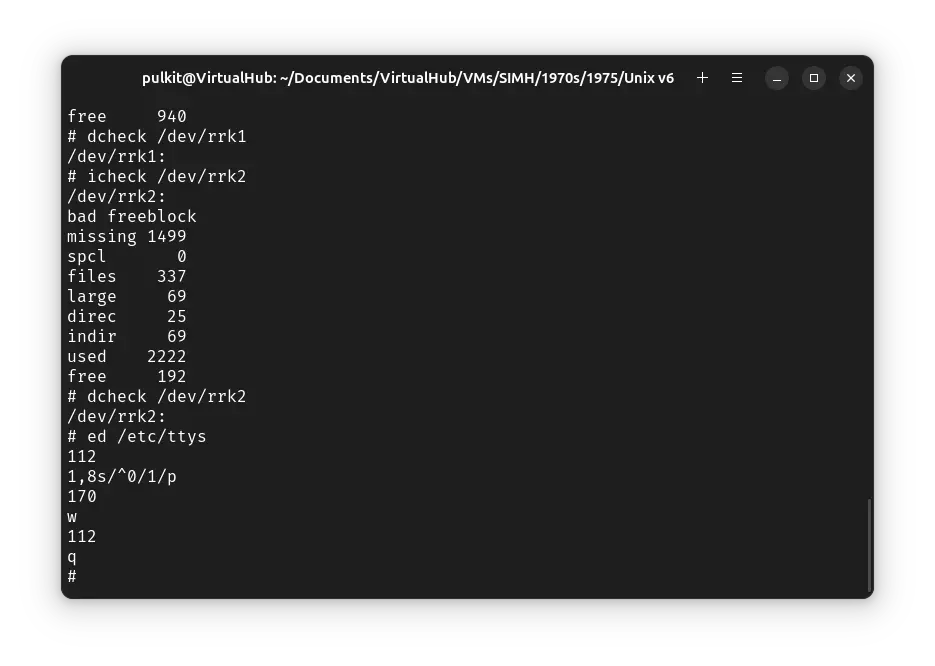 That's it. Now run `sync` a few times, and then press `Ctrl` + `e` to pause the emulation. Enter `exit` to quit the emulator We have successfully installed ! Unix v6. Now you can delete the `pdp11.ini` and `dist.tap` file. ## Running Unix v6 Create a fresh `pdp11.ini` file with the following contents: ```ini set cpu 11/40 set cpu idle set tto 7b set tm0 locked attach rk0 rk0 attach rk1 rk1 attach rk2 rk2 attach lpt printer.txt set dci en set dci lines=8 set dco 7b att dci 5555 boot rk0 ``` 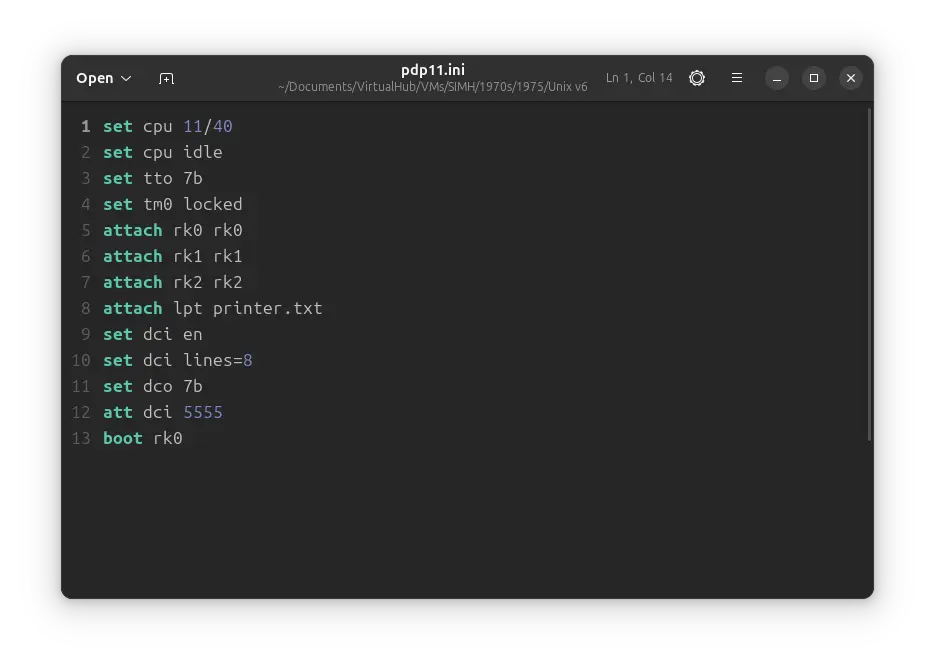 Open a terminal and move to the VM folder. Run the following command to start the emulator: ```bash pdp11 ``` At the `@` prompt, type `unix` and press enter. ! Unix v6 will start. You will be asked to log in. Type `root` and press enter to log in. There is no password. 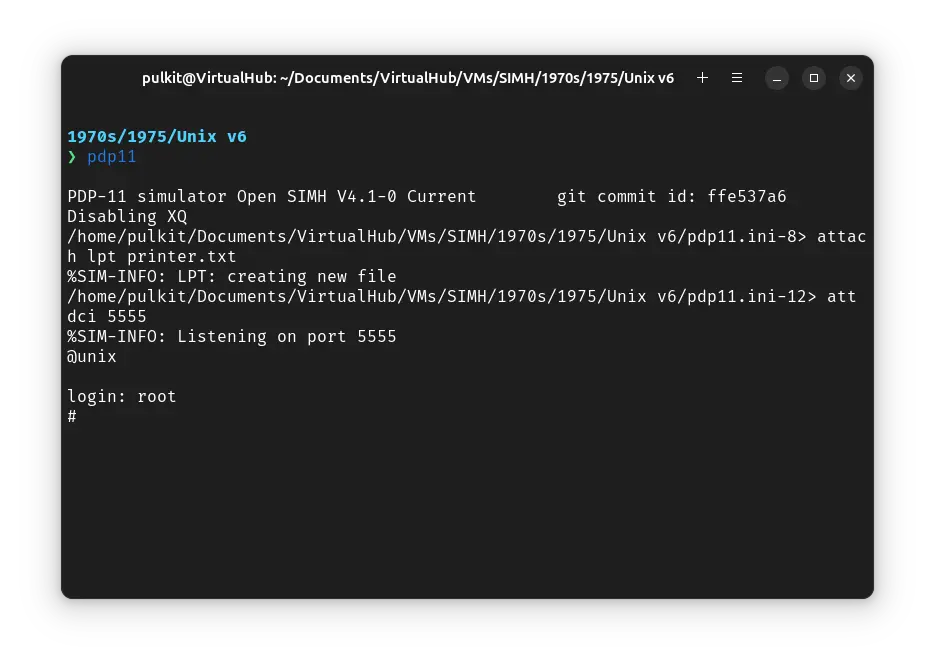 You can now run `ls` to see the list of files. To change directory, you need to use the `chdir` command, `cd` is not available.  That's it! We used ! Unix v6. We can create a shell script to make it easy to launch the VM. ### Linux Create a file called `unix-v6.sh` with the following content: ```bash #!/bin/bash pdp11 ``` Now make the file executable: ```bash chmod +x unix-v6.sh ``` Now you can start the VM using the shell script. For example, on KDE you can right-click the file and choose `Run in Konsole` or on GNOME, where you can right-click the file and choose `Run as executable`. The VM will start. See the [manuals section](/1970s/1975/unix-v6/#manuals) on the [main ! Unix v6 page](/1970s/1975/unix-v6) to learn how to use it. ### Windows Create a file called `unix-v6.bat` with the following content: ```bash pdp11 ``` Now you can start the VM by double-clicking the shell script. See the [manuals section](/1970s/1975/unix-v6/#manuals) on the [main ! Unix v6 page](/1970s/1975/unix-v6) to learn how to use it. ## Credits - The tape image above are from the [squoze.net](http://squoze.net/) website. - This tutorial is based on [Computer History Wiki tutorial on running ! Unix v6 on SIMH](https://gunkies.org/wiki/Installing_UNIX_v6_(PDP-11)_on_SIMH). ## Video tutorial Do you want to follow the tutorial by watching a video? We will post a video on our [YouTube channel](https://www.youtube.com/@virtua1hub) soon. Archives of this tutorial are available on [Wayback Machine](https://web.archive.org/web/*/https://virtualhub.eu.org/1970s/1975/unix-v6/simh/).