---
keywords: ["TSS/8", "PDP-8", 1960s, 1968]
image: ./TSS8-B.webp
description: 'We can run ! TSS/8 on the SIMH PDP-8 emulator. First, we need to download the ! TSS/8 kit. You can download the kit needed to run ! TSS/8 on the SIMH PDP-8 emulator from the "SIMH Legacy" website:'
sidebar_position: 1
sidebar_label: "! TSS/8 on SIMH"
---
# How to install ! TSS/8 on SIMH?
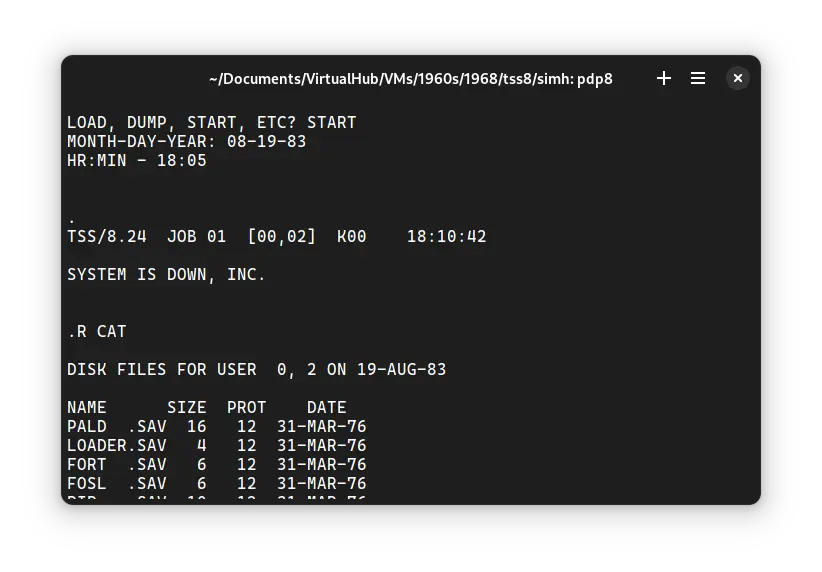
We can run [! TSS/8](/1960s/1968/tss8) on the SIMH PDP-8 emulator. First, we need to download the ! TSS/8 kit.
## Downloads
You can download the kit needed to run ! TSS/8 on the SIMH PDP-8 emulator from the ["SIMH Legacy" website](http://simh.trailing-edge.com/):
- [! TSS/8 kit](http://simh.trailing-edge.com/kits/tss8.zip)
## Using ! TSS/8
:::tip
If you have not already installed SIMH PDP-8 emulator, see [the VirtualHub Setup tutorial on how to do so](https://setup.virtualhub.eu.org/simh-pdp8/) on Linux and Windows.
:::
Extract the kit you downloaded. Inside you will find several files. Create a folder somewhere to store the files for this VM and move the files named `tss8_init.bin` and `tss8_rf.dsk` into it.
Now we will create a config file for our VM. Create a text file called `pdp8.ini` with the following content in the VM folder:
```ini
load tss8_init.bin
set rf enabled
set df disabled
attach rf tss8_rf.dsk
attach ttix 4000
run 24200
```
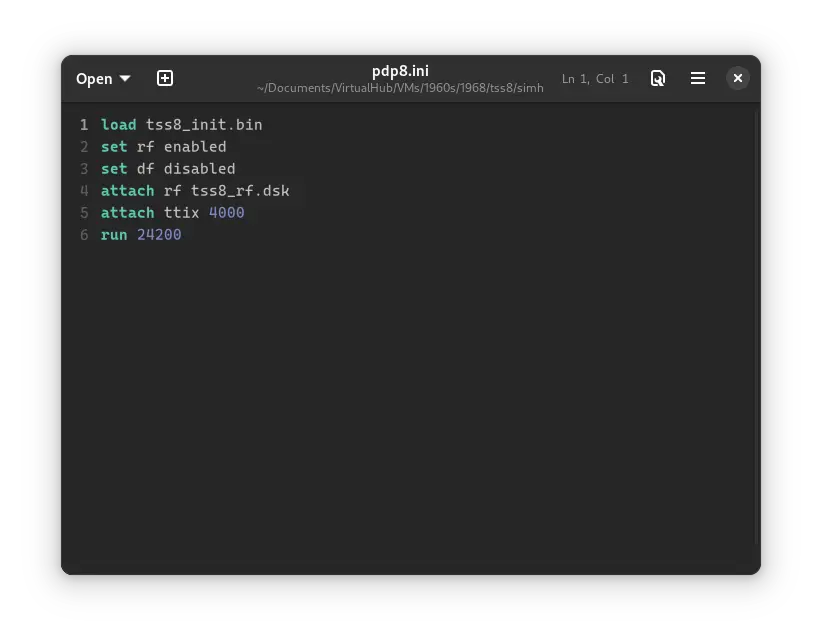
Now open a terminal and move to the VM folder. Run the following command to start the emulator:
```bash
pdp8
```
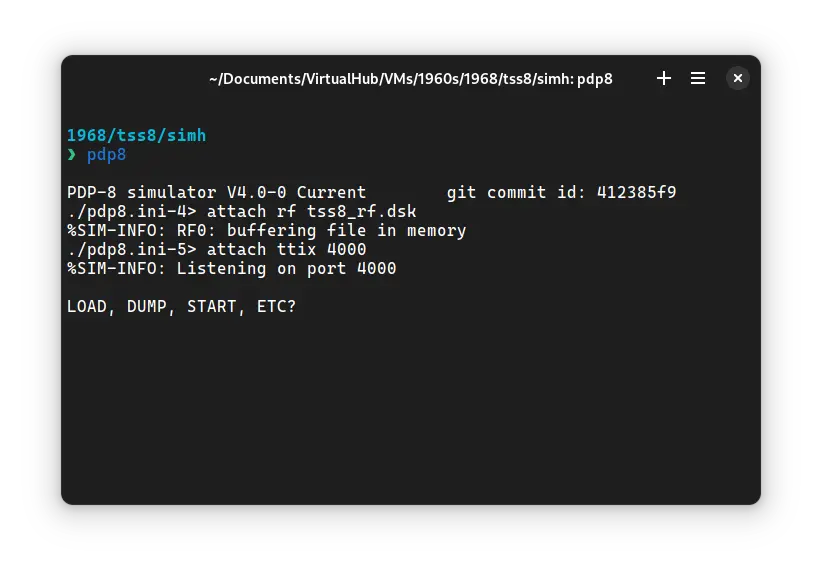
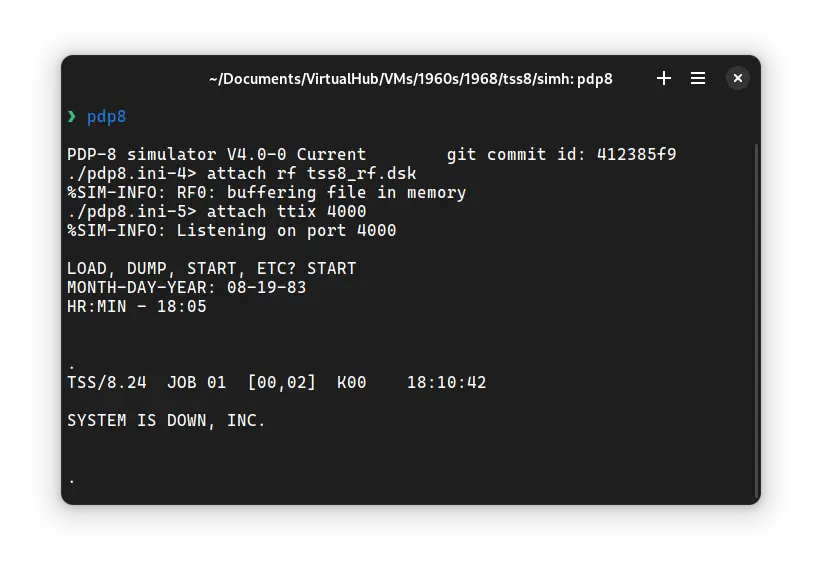
After the emulator starts, type `START` and press enter. When asked, enter the date in `MM-DD-YY` format. Year should be between 74 and 85. Then enter time in `HH:MM` 24-hour format.
Press enter until you get a `.` prompt. Then type the following:
```bash
LOGIN 2 LXHE
```
There will be no output on screen as you type this, but it is being typed. Press enter after you are done. Here, 2 is the username and `LXHE` is the password. There are other users too. You can learn about them from Manuals and site listed below. Finally, you will get to this screen:
Type `R CAT` and press enter. It will list all the files available on the disk.
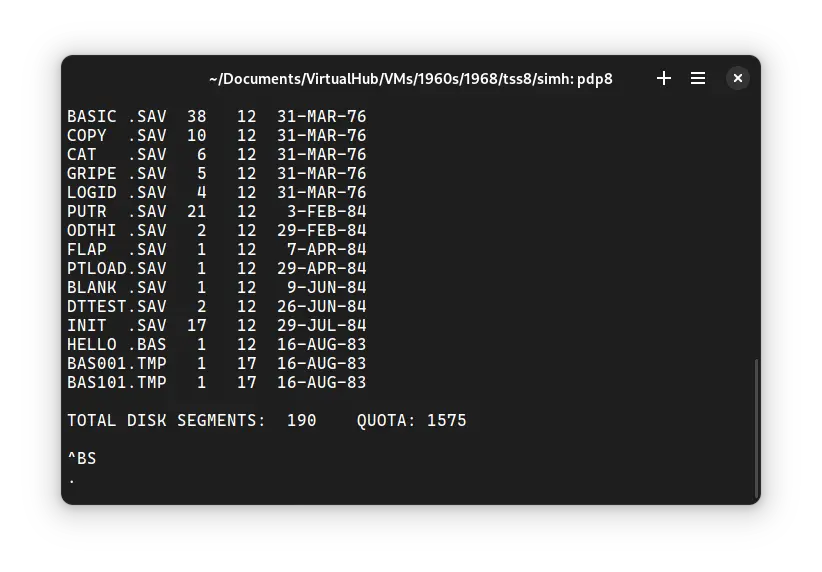
That's it! We used ! TSS/8. We can create a shell script to make it easy to launch the VM.
### Linux
Create a file called `TSS8.sh` with the following content:
```bash
#!/bin/bash
pdp8
```
Now make the file executable:
```bash
chmod +x TSS8.sh
```
Now you can start the VM using the shell script. For example, on KDE you can right-click the file and choose `Run in Konsole` or on GNOME, where you can right-click the file and choose `Run as executable`. The VM will start.
See the [manuals section](/1960s/1968/tss8/#manuals) on the [main ! TSS/8 page](/1960s/1968/tss8/) and [this website](https://raymii.org/s/articles/Running_TSS_8_on_the_DEC_PiDP-8_i_and_SIMH.html) to learn how to use it.
### Windows
Create a file called `TSS8.bat` with the following content:
```bash
pdp8
```
Now you can start the VM by double-clicking the shell script. See the [manuals section](/1960s/1968/tss8/#manuals) on the [main ! TSS/8 page](/1960s/1968/tss8/) and [this website](https://raymii.org/s/articles/Running_TSS_8_on_the_DEC_PiDP-8_i_and_SIMH.html) to learn how to use it.
## Credits
- The disk image and other files used above are from a kit available on [SimH "Classic" website](http://simh.trailing-edge.com/).
## Video tutorial
Do you want to follow the tutorial by watching a video? Here it is:
Archives of this tutorial may be available on [Wayback Machine](https://web.archive.org/web/*/https://virtualhub.eu.org/1960s/1968/tss8/simh/).